How to Use LCD Display with Arduino.
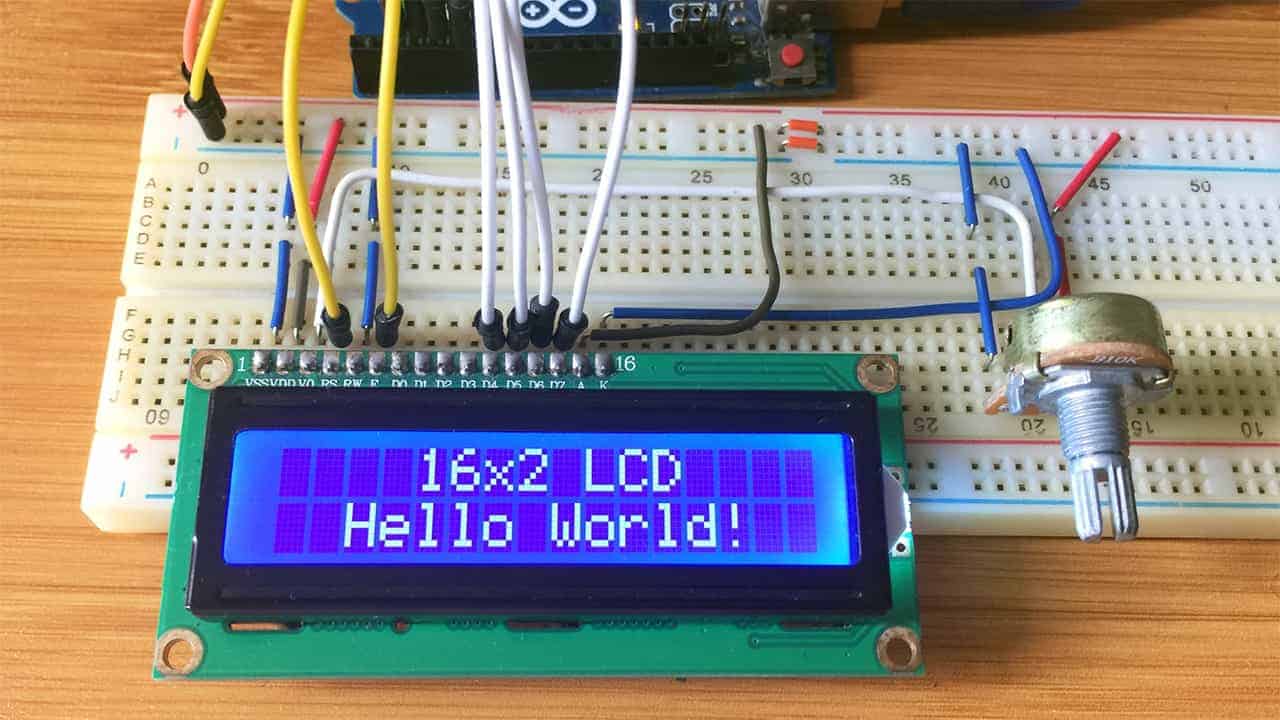
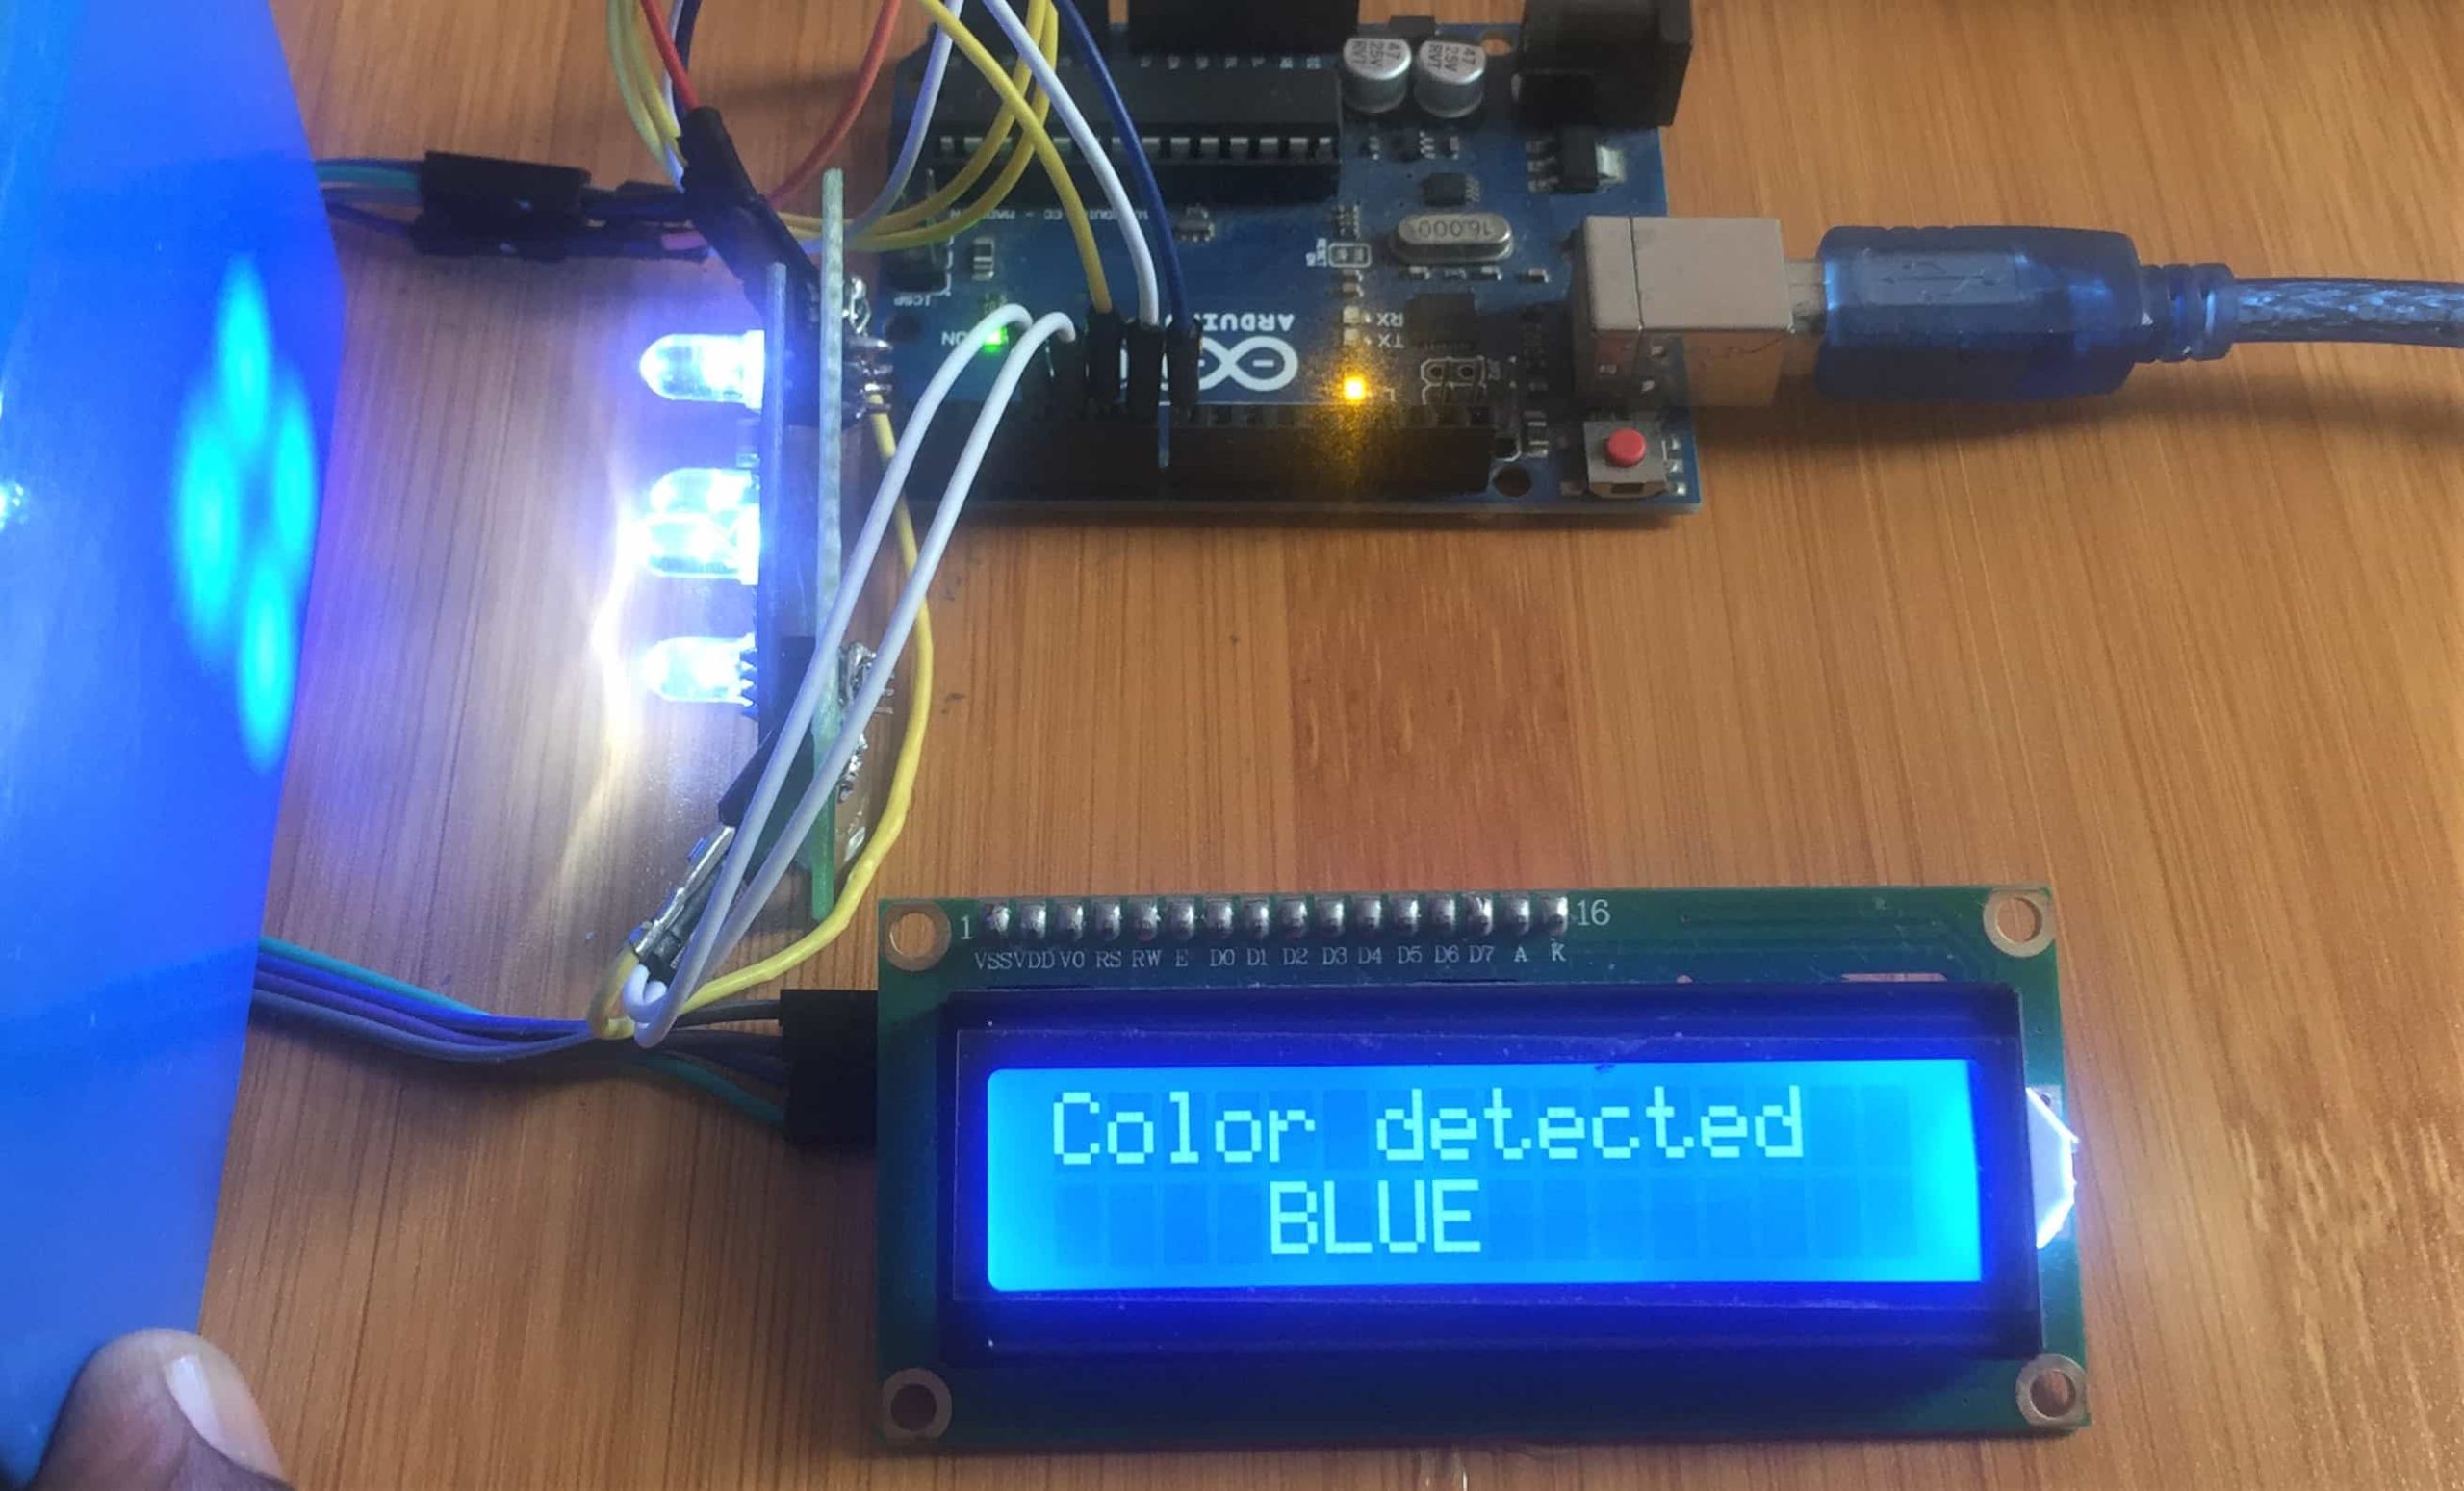
In a number of applications there is need to display text or characters, for example in calculators, digital clocks and other devices. This is where a Liquid Crystal Display (LCD) comes in handy. In this tutorial I’ll show you how to interface a 16×2 LCD with Arduino.
LCD hardware overview.
LCD is short for Liquid Crystal Display which means this display uses liquid crystals to produce a visible image. When current is applied to these crystals, they turn opaque and block the backlight behind the screen and as a result that particular area will become dark compared to other. And that’s how characters are displayed on the screen.
Most of the common LCDs with 16 pins use the Hitachi HD44780 driver which is a parallel interface LCD controller chip. In this case we are using a 16×2 LCD which means it has 2 rows and 16 columns. Therefore this LCD can display 32 ASCII characters although more characters can be displayed by scrolling.
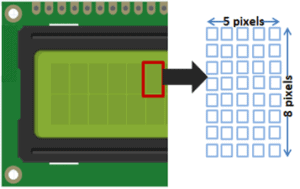
The LCDs come in other sizes like 16×1, 16×4, 20×4 but the code for running these screens remains the same. The LCD screen is made of pixel rectangles for displaying the characters. Each of these rectangles is made up of grids of 5×8 pixels as illustrated in the diagram below.
16X2 Character LCD pinout.

- VSS (GND): should be connected to the ground of Arduino.
- VDD(VCC): power supply for the LCD which we connect the 5 volts pin on the Arduino.
- V0: controls the contrast and brightness of the LCD. Using a simple voltage divider with a potentiometer, we can make fine adjustments to the contrast.
- RS(Register Select): this pin is used to differentiate commands from data. When RS pin is set to LOW, then we are sending commands to the LCD and when RS pin is set on HIGH we are sending data/characters to the LCD.
- RW(Read/Write): This pin is for determining whether you are reading or writing data from the LCD. In this case the LCD is being used as an OUTPUT device therefore we need to keep this pin LOW to keep it in the WRITE mode.
- E(Enable): Used for enabling the display. When this pin is set to LOW, the LCD does not care what is happening with R/W, RS, and the data bus lines. When this pin is set to HIGH, the LCD is processing the incoming data. When we need to execute an instruction, this pin is set as HIGH for a few milliseconds then back to LOW.
- D0 to D7: These pins are used to carry the 8 bit data that is sent to the display.
- A(Anode): 5V for controlling the backlight of the LCD.
- K(Cathode): GND for controlling the backlight of the LCD.
Connecting the LCD with Arduino.
This display can be wired in either 4 bit mode or 8 bit mode. In most cases we use the 4 bit mode since it uses less I/O pins than the 8 bit mode. However the 8-bit mode is faster in transmitting data because all the data is written at once unlike the 4-bit mode where the data is split into two packets before writing hence needing 2 write operations thereby taking more time.
We will use just 6 digital input pins from the Arduino Board. The LCD’s registers from D4 to D7 will be connected to Arduino’s digital pins from 4 to 7. The Enable pin will be connected to pin number 2 and the RS pin will be connected to pin number 1.

The R/W pin will be connected to Ground and the V0 pin will be connected to a potentiometer for adjusting the screen contrast.
Code for controlling the LCD using Arduino.
To control the LCD with Arduino we need to install the LiquidCrystal.h library which contains all the functions for controlling data transmission to the display. This library usually comes pre-installed in the Arduino IDE but can also be got from the Arduino community website.
Common Functions
- LiquidCrystal(): Used for creating an LCD object and the parameters of this object should be the numbers of the digital input pins for controlling the LCD. The syntax is LiquidCrystal(RS, Enable, D4, D5, D6, D7).
- lcd.begin(): For setting the dimensions of the LCD. The number of rows and columns are specified as lcd.begin(columns, rows). For a 16×2 LCD, you would use lcd.begin(16,2)
- lcd.clear(): For clearing any text or data already displayed on the LCD.
- lcd.home(): For placing the cursor in the upper left hand corner of the screen, and prints any subsequent text from that position.
- lcd.Cursor(): This function creates a visible cursor. The cursor is a horizontal line placed below the next character to be printed to the LCD. To turn the cursor off we use the lcd.noCursor() function.
- lcd.blink(): This function is used for displaying a blinking cursor. Use it in the void loop() section. The lcd.noBlink() functions disables the blinking cursor.
- lcd.setCursor(): Place the cursor or any printed text at any position on the screen. This function’s syntax is lcd.setCursor(column, row) where the column and row coordinates are in the range 0 to 15 and 0 to 1 respectively.
- lcd.print(): For printing text on the LCD. To print letters and words, place quotation marks (” “) around the text. For example, to print hello, world!, use lcd.print(“hello, world!”). To print numbers, no quotation marks are necessary. For example, to print 123456789, use lcd.print(123456789).
Code for displaying simple text on the LCD.
// Include the library:
#include <LiquidCrystal.h>
// Create an LCD object. Parameters: (RS, E, D4, D5, D6, D7):
LiquidCrystal lcd = LiquidCrystal(2, 3, 4, 5, 6, 7);
/*
void setup() {
  // Specify the LCD's number of columns and rows. Change to (20, 4) for a 20x4 LCD:
  lcd.begin(16, 2);
}
void loop() {
  // Set the cursor on the third column and the first row, counting starts at 0:
  lcd.setCursor(4, 0);
  // Print the string '16x2 LCD':
  lcd.print("16x2 LCD");
  // Set the cursor on the third column and the second row:
  lcd.setCursor(2, 1);
  // Print the string 'Hello World!':
  lcd.print("Hello World!");
}
Scrolling Text on the LCD using Arduino.
Sometimes there is a need to display messages with more than 16 characters on the LCD screen and in that case we need to apply some form of scrolling effect to be able to display the whole text message. The LiquidCrystal library has functions to necessitate this and these include:
- lcd.autoscroll(): For scrolling a string of text from right to left in increments of the character count of the string
- lcd.noAutoscroll(): This is the opposite of the lcd.autoscroll() function and is normally used before or after lcd.autoscroll() to create sequences of scrolling text or animations.
- lcd.scrollDisplayLeft(): This function moves the text printed on the LCD to the left. It is should be followed by a delay command to control the speed of scrolling. The function will move the text 40 spaces to the left before it loops back to the first character. Text strings longer than 40 spaces will be printed to line 1 after the 40th position, while the start of the string will continue printing to line 0.
- lcd.scrollDisplayRight(): Moves text on the LCD to the right.
Example code for scrolling text using functions in the LiquidCrystal library.
The code below is for scrolling the text “Hello World” in the left and right directions using the scrollDisplayLeft() and scrollDisplayRight() functions. The scrolling is done by incrementing the position of the text by one in the respective direction.
#include <LiquidCrystal.h>
LiquidCrystal lcd(2, 3, 4, 5, 6, 7);
 void setup() {
  lcd.begin(16, 2);
  lcd.print("hello, world!");
  delay(1000);
}
void loop() {
  for (int positionCounter = 0; positionCounter < 13; positionCounter++) {
   lcd.scrollDisplayLeft();
    delay(150);
  }
  for (int positionCounter = 0; positionCounter < 29; positionCounter++) {
    lcd.scrollDisplayRight();
    delay(150);
  }
  for (int positionCounter = 0; positionCounter < 16; positionCounter++) {
    lcd.scrollDisplayLeft();
    delay(150);
  }
  delay(1000);
}
The major part of this code occurs in the loop section which includes counters made using for loops. In this case, the first counter scrolls the text left by 13 positions, which is enough to move it off the display to the left.
The second counter moves the text 29 positions to the right, which will bring it back onto the display and then move it off to the right.
The last counter moves the text 16 positions to the left again, which will restore it back to the center of the display. The loop then repeats itself.
Using custom functions to scroll text.
In case you need specific qualities in the way the text is scrolled on the LCD or if you want to display messages which are longer than 40 characters , then you can achieve this using custom functions. For example the code below shows how we can use custom functions to display a scrolling message on the display.
I have created a function scrollText() for scrolling text. This function accepts four arguments; the row on which to display the scrolling text, the text to be displayed, the delay time between the shifting of characters, and the number of columns of the LCD.
#include <LiquidCrystal.h>
LiquidCrystal lcd(2, 3, 4, 5, 6, 7);
String messageStatic = "SCROLLING TEXT";
String messageToScroll = "This is a scrolling message with more than 16 characters";
void scrollText(int row, String message, int delayTime, int lcdColumns) {
  for (int i=0; i < lcdColumns; i++) {
    message = " " + message;
  }
  message = message + " ";
  for (int pos = 0; pos < message.length(); pos++) {
    lcd.setCursor(0, row);
    lcd.print(message.substring(pos, pos + lcdColumns));
    delay(delayTime);
  }
}
void setup(){
  lcd.begin(16, 2);
}
void loop(){
  // set cursor to first column, first row
  lcd.setCursor(0, 0);
  // print static message
  lcd.print(messageStatic);
  // print scrolling message
  scrollText(1, messageToScroll, 250, 16);
}
Displaying custom characters on the LCD with Arduino.
If you need to display a character that is not part of the standard 127-character ASCII character set then you might need to create your own characters .The Hitach HD44780 controller contains two types of memory:
CGROM: This is the Character Generator ROM which is the type of memory used for storing the permanent ASCII code fonts. These fonts are the ones we normally use for displaying messages on the LCD.
CGRAM: This is where the user defined characters are stored. This memory space can be modified and is limited to 64 bytes. This means that for a 5×8 based LCD, a maximum of eight custom characters can be stored in the CGRAM.
I have discussed more on how to display custom characters on the LCD in my other tutorial involving the use of an i2C adapter attached to the LCD to further reduce on the number of connections needed to run this display. You can check it out using this link:
