Arduino voice control of LEDs using Bluetooth module
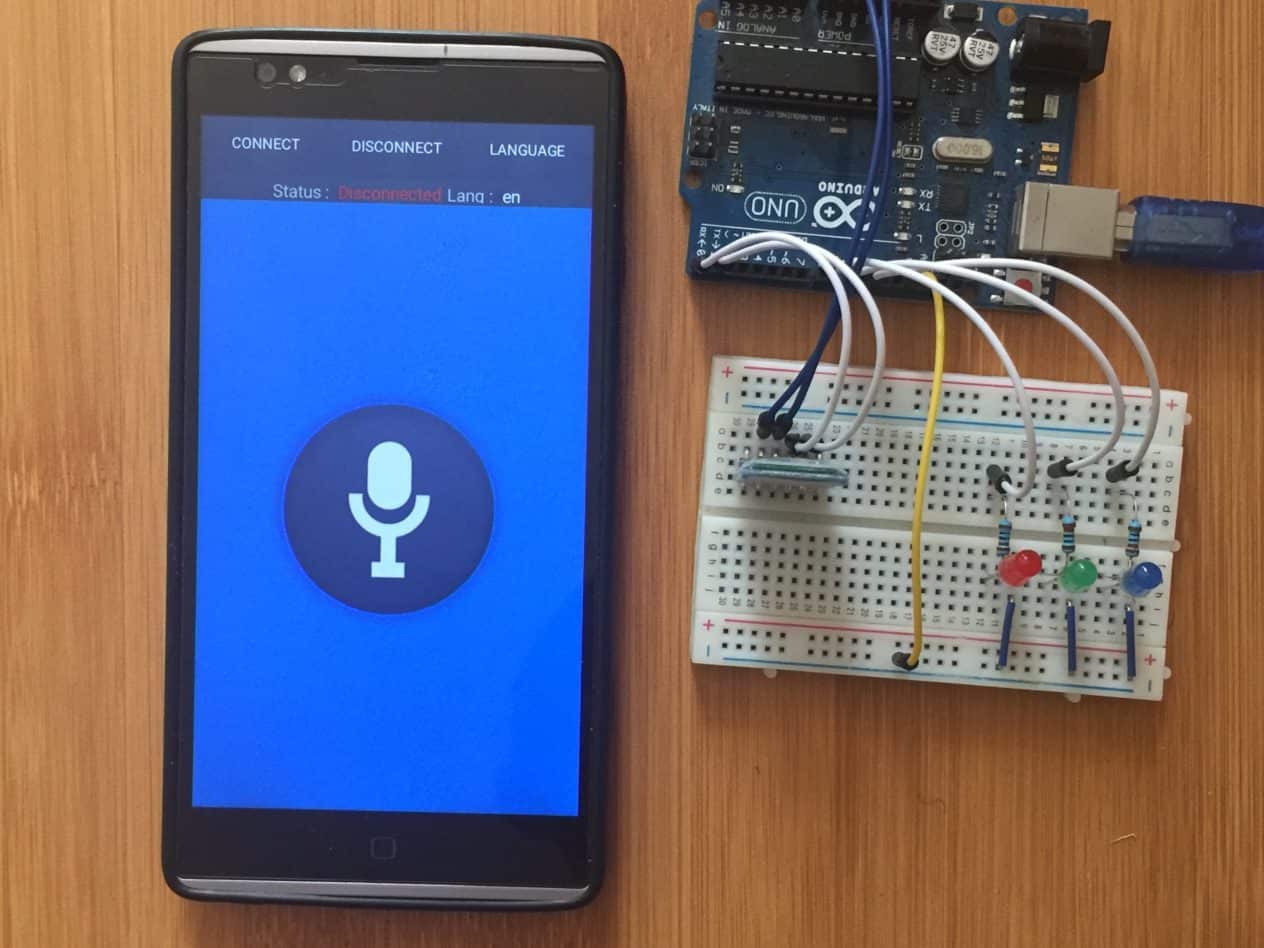
Arduino voice control of devices can be done in a number of ways using voice recognition modules for example EasyVR Shield 3.0, ELECHOUSE Voice Recognition Module V3, Tigal SmartVR Voice Recognition Board, Grove – Speech Recognizer and other modules. These devices can store simple commands in different languages that can be used to run basic controls.
These modules are very efficient but are a bit expensive and as such for simple projects we can use our smart phones.In this tutorialI demonstrate how you can use your smart phone for voice control of leds with Arduino.
We just need an Arduino UNO to serially communicate with HC-06 or HC-05 Bluetooth module and a smartphone to send voice commands to the Bluetooth module. For receiving voice commands we use an Android app which you can download from play store.
Connecting the HC-05 Bluetooth module to Arduino.
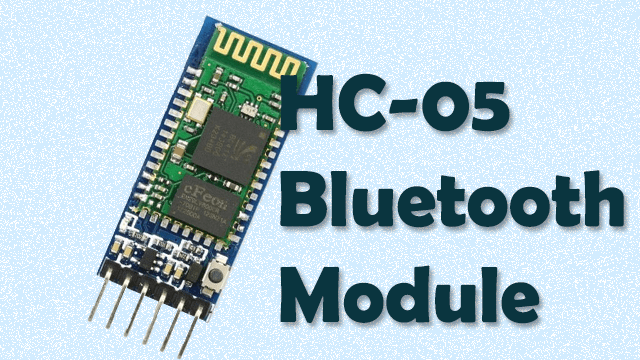
HC-05 Bluetooth Module is an easy to use Bluetooth SPP (Serial Port Protocol) module, designed for transparent wireless serial connection setup. Its communication is via serial communication which makes an easy way to interface with microcontrollers.
I have a detailed tutorial on the working of HC-05 Bluetooth module and how to interface it with Arduino which you can refer to using the link below;
The connections for the HC-05 Bluetooth module to Arduino are done as follows;


Code for Bluetooth voice control of LEDs using Arduino.
For voice control using Arduino an important library that is needed is the SoftwareSerial.h Library. This library can be downloaded from here. Make sure this Library is installed in the Arduino IDE .
#include <SoftwareSerial.h>
SoftwareSerial BT(0,1); //RX, TX respetively
String voice;
int RED = 9; // Red LED at pin 9
int BLUE = 11; // Blue LED at pin 11
int GREEN = 10; //Green LED at pin 10
void RedOn(){ // Red LED on, others off
digitalWrite (RED, HIGH);
digitalWrite (GREEN, LOW);
digitalWrite (BLUE, LOW);
}
void RedOff(){ // Red LED off, others on
digitalWrite (RED, LOW);
digitalWrite (GREEN, HIGH);
digitalWrite (BLUE, HIGH);
}
void GreenOn(){
digitalWrite (GREEN, HIGH);
digitalWrite (RED, LOW);
digitalWrite (BLUE, LOW);
}
void GreenOff(){
digitalWrite (GREEN, LOW);
digitalWrite (RED, HIGH);
digitalWrite (BLUE, HIGH);
}
void BlueOn(){
digitalWrite (BLUE, HIGH);
digitalWrite (GREEN, LOW);
digitalWrite (RED, LOW);
}
void BlueOff(){
digitalWrite (BLUE, LOW);
digitalWrite (GREEN, HIGH);
digitalWrite (RED, HIGH);
}void allon() {
digitalWrite (RED, HIGH);
digitalWrite (GREEN, HIGH);
digitalWrite (BLUE, HIGH);
}
void alloff() {
digitalWrite (RED, LOW);
digitalWrite (GREEN, LOW);
digitalWrite (BLUE, LOW);
}
void setup() {
BT.begin(9600);
Serial.begin(9600);
pinMode(RED, OUTPUT);
pinMode(GREEN, OUTPUT);
pinMode(BLUE, OUTPUT);
}
void loop() {
while(BT.available()) {
delay(10);
char c=BT.read();
if(c=='#')
{break; }
voice += c;
}
if (voice.length() > 0) {
Serial.println(voice);
if (voice == "welcome" || voice == "on") // if the voice says "welcome", all the LEDs turn on
{
allon() ;
}
else if (voice == "goodbye" || voice=="switch off all") // If the voice says"goodbye", all the LEDs turn off
{
alloff() ;
}
else if(voice =="red color" || voice =="red on"){
RedOn();
}
else if(voice =="red color off"){
RedOff();
}
else if(voice =="blue " || voice =="blue on"){
BlueOn();
}
else if(voice =="switch of blue"){
BlueOff();
}
else if(voice =="green color" || voice =="green on"){
GreenOn();
}
else if(voice =="switch of green"){
GreenOff();
}
voice="";
}
}
While uploading the code to the Arduino UNO disconnect the Rx and Tx pins .Connect RX and TX pins after uploading the code.
Android App for Bluetooth Voice control.
For this project we use Android Voice Control app which is got from the Google play store. This Application enables us to connect the phone and the Arduino board through Bluetooth and to be able to interpret the voice commands using Google speech recognition service.
The App can be downloaded from here.


