In this project, we will learn how to make a bluetooth controlled car using Arduino. we will be using HC-05 Bluetooth Module and L293D Motor Driver Module. To enable bluetooth communication, we will use a smart phone and a simple Android app to control the car.
Before proceeding with this tutorial, it’s good to go through my other tutorials on HC-05 Bluetooth module and L293D Motor Driver module.
Main components needed for making a Bluetooth controlled car.

The HC-05 Bluetooth Module is responsible for enabling Bluetooth communication between Arduino and the Android Phone.

The L293D Motor Driver module is responsible for providing the necessary current to drive the motors of the car.
Schematic for Bluetooth Controlled Car using Arduino.

The RX and TX pins of the Bluetooth module are connected after uploading the code to the Arduino.
This setup requires sufficient power supply to be able to run the four motors and the Bluetooth Module. If the power is not sufficient, even though the Bluetooth Module powers on, it cannot transmit data or cannot be paired with other Bluetooth devices. I recommend using rechargeable batteries that can supply a steady current for a longer period of time.
Code for controlling the Bluetooth Controlled car with Arduino.
Since we are using the L293D motor driver shield, we have to use the AFMotor.h library which contains the commands for driving the four dc motors attached to the shield.
#include <AFMotor.h>

//initial motors pin
AF_DCMotor motor1(1);
AF_DCMotor motor2(2);
AF_DCMotor motor3(3);
AF_DCMotor motor4(4);

char command;

void setup()
{
  Serial.begin(9600);  //Set the baud rate to your Bluetooth module.
}

void loop(){
  if(Serial.available() > 0){
    command = Serial.read();
    Stop(); //initialize with motors stoped
    //Change pin mode only if new command is different from previous.
    //Serial.println(command);
    switch(command){
    case 'F':
      forward();
      break;
    case 'B':
 back();
      break;
    case 'L':
      left();
      break;
    case 'R':
      right();
      break;
    }
  }
}

void forward()
{
  motor1.setSpeed(255); //Define maximum velocity
  motor1.run(FORWARD); //rotate the motor clockwise
  motor2.setSpeed(255); //Define maximum velocity
  motor2.run(FORWARD); //rotate the motor clockwise
  motor3.setSpeed(255);//Define maximum velocity
  motor3.run(FORWARD); //rotate the motor clockwise
  motor4.setSpeed(255);//Define maximum velocity
  motor4.run(FORWARD);
//rotate the motor clockwise
}

void back()
{
  motor1.setSpeed(255); //Define maximum velocity
  motor1.run(BACKWARD); //rotate the motor anti-clockwise
  motor2.setSpeed(255); //Define maximum velocity
  motor2.run(BACKWARD); //rotate the motor anti-clockwise
  motor3.setSpeed(255); //Define maximum velocity
  motor3.run(BACKWARD); //rotate the motor anti-clockwise
  motor4.setSpeed(255); //Define maximum velocity
  motor4.run(BACKWARD); //rotate the motor anti-clockwise
}

void left()
{
  motor1.setSpeed(255);
//Define maximum velocity
  motor1.run(BACKWARD); //rotate the motor anti-clockwise
  motor2.setSpeed(255); //Define maximum velocity
  motor2.run(BACKWARD); //rotate the motor anti-clockwise
  motor3.setSpeed(255); //Define maximum velocity
  motor3.run(FORWARD);  //rotate the motor clockwise
  motor4.setSpeed(255); //Define maximum velocity
  motor4.run(FORWARD);  //rotate the motor clockwise
}

void right()
{
  motor1.setSpeed(255); //Define maximum velocity
  motor1.run(FORWARD); //rotate the motor clockwise
  motor2.setSpeed(255); //Define maximum velocity
  motor2.run(FORWARD);
//rotate the motor clockwise
  motor3.setSpeed(255); //Define maximum velocity
  motor3.run(BACKWARD); //rotate the motor anti-clockwise
  motor4.setSpeed(255); //Define maximum velocity
  motor4.run(BACKWARD); //rotate the motor anti-clockwise
}

void Stop()
{
  motor1.setSpeed(0); //Define minimum velocity
  motor1.run(RELEASE); //stop the motor when release the button
  motor2.setSpeed(0); //Define minimum velocity
  motor2.run(RELEASE); //rotate the motor clockwise
  motor3.setSpeed(0); //Define minimum velocity
  motor3.run(RELEASE);
//stop the motor when release the button
  motor4.setSpeed(0); //Define minimum velocity
  motor4.run(RELEASE); //stop the motor when release the button
}
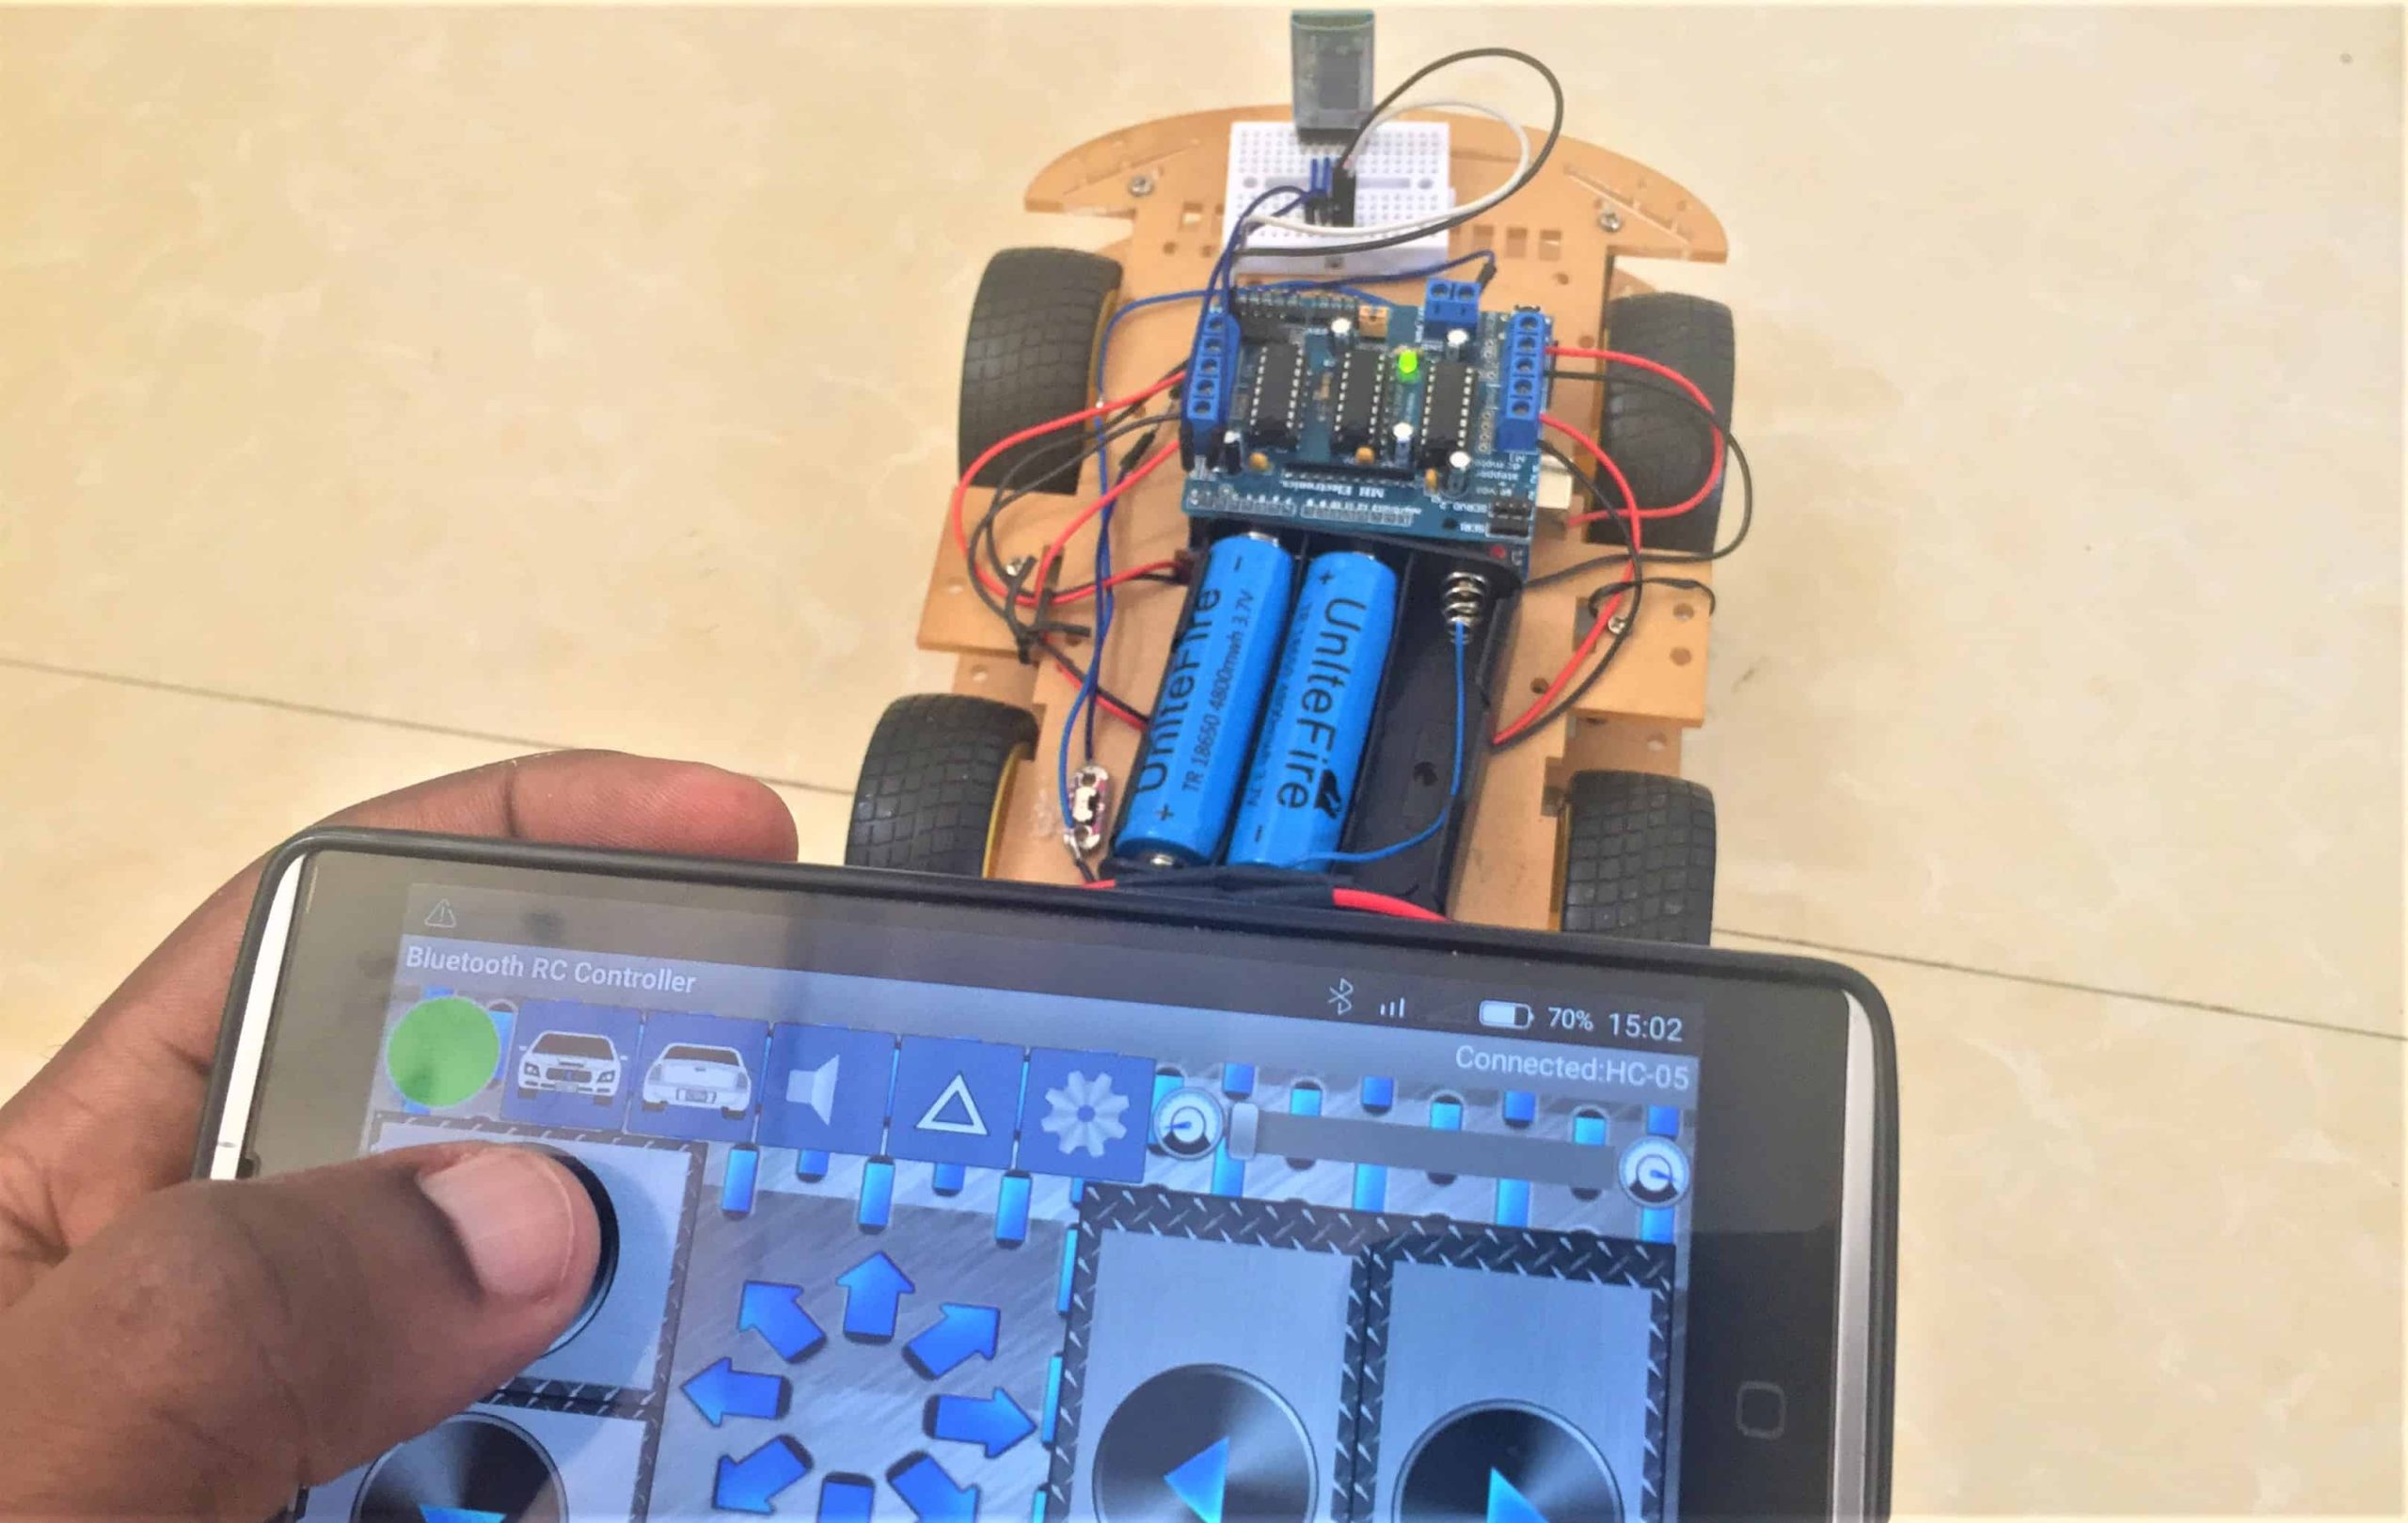
Android App for controlling the car.
In order to control the car using a mobile phone, we need to install an application to enable Bluetooth communication between the Arduino board and the car. This App can be downloaded from here.

The Android application controls are as shown above. The car will move in the direction depending on the arrow pressed.

This application also supports accelerometer control which means the movement of the car is determined by the direction in which the phone is tilted.


