How to control a Servo motor with Arduino.
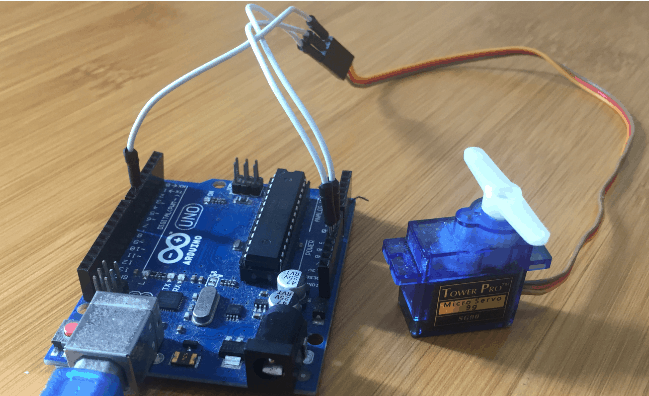
In the previous tutorials we have seen how to control DC motors and Stepper motors using Arduino and the various types of motor drivers used. In this tutorial let us look at how to control a servo motor with Arduino.
What is a Servo motor?
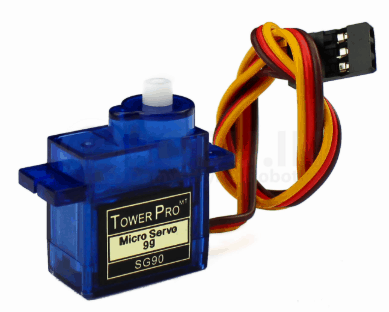
A Servo Motor is a low-speed, high-torque motor that comes in a variety of sizes. Unlike the DC and Stepper motors the Servo Motor does not normally spin a full 360 degree rotation. Instead it is limited to a range of 180, 270 or 90 degrees.
A control signal is sent to the servo to position the shaft at the desired angle. This arrangement with a single signal makes it simple for servos to be used in radio and remote controlled designs, as well as with microcontrollers.
Servo motors are used to control the position of objects, rotate objects, move legs, arms or hands of robots, move sensors etc. with high precision. Servos can also be used in analog gauges like speedometers and tachometers.
Connecting the Servo motor to Arduino.
Most servo motors have the following three connections:

Power supply considerations
Most servo motors can operate on 5 volts without problem and can use the 5-volt output on the Arduino board. However this is not a very good idea because servos can consume a fair amount of current, especially when placed under load. This might be more current than the voltage regulator on the Arduino board can take.
While most Arduino boards can support one micro servo it still strains the regulator a lot. It is a much better idea to use a separate power supply for your servo motor. If you really must power a servo directly from the Arduino limit it to one micro servo.
Code for controlling the Servo motor using Arduino.
The sketch makes use of the Arduino Servo Library which is included with your Arduino IDE. As its name implies its is a library for controlling servo motors with PWM.
#include <Servo.h>
Servo myservo;  // create servo object to control a servo
// twelve servo objects can be created on most boards
int pos = 0;    // variable to store the servo position
void setup() {
  myservo.attach(9);  // attaches the servo on pin 9 to the servo object
}
void loop() {
  for (pos = 0; pos <= 180; pos += 1) { // goes from 0 degrees to 180 degrees
    // in steps of 1 degree
    myservo.write(pos);              // tell servo to go to position in variable 'pos'
    delay(15);                       // waits 15ms for the servo to reach the position
  }
  for (pos = 180; pos >= 0; pos -= 1) { // goes from 180 degrees to 0 degrees
    myservo.write(pos);              // tell servo to go to position in variable 'pos'
    delay(15);                       // waits 15ms for the servo to reach the position
  }
}
- First define an object called myservo to represent our servo motor.
- Then define a variable called “pos” that holds the position (angle) that we want the servo motor shaft to move to.
- In the setup we attach our servo object to the servo motor control line on pin 9 of the Arduino.
- The loop section consists of two for loops. The first loop increments the value of the pos variable and uses it to control the servo motor using a myservo.write command, sending the shaft from 0 to 180 degrees. The second for loop is identical except it decrements the value from 180 to 0, sending the shaft back in the opposite direction.
I have a number of tutorials involving the use of servo motors in various projects which you can make reference to using the links below;
- Controlling Servo motor using L293D Motor Driver Shield for Arduino.
- Controlling Servo motor using Rotary encoder with Arduino.
- PCA9685 16-Channel 12-bit PWM Servo motor driver with Arduino.
