How to use the 2.4″ TFT LCD Touch screen shield for Arduino.
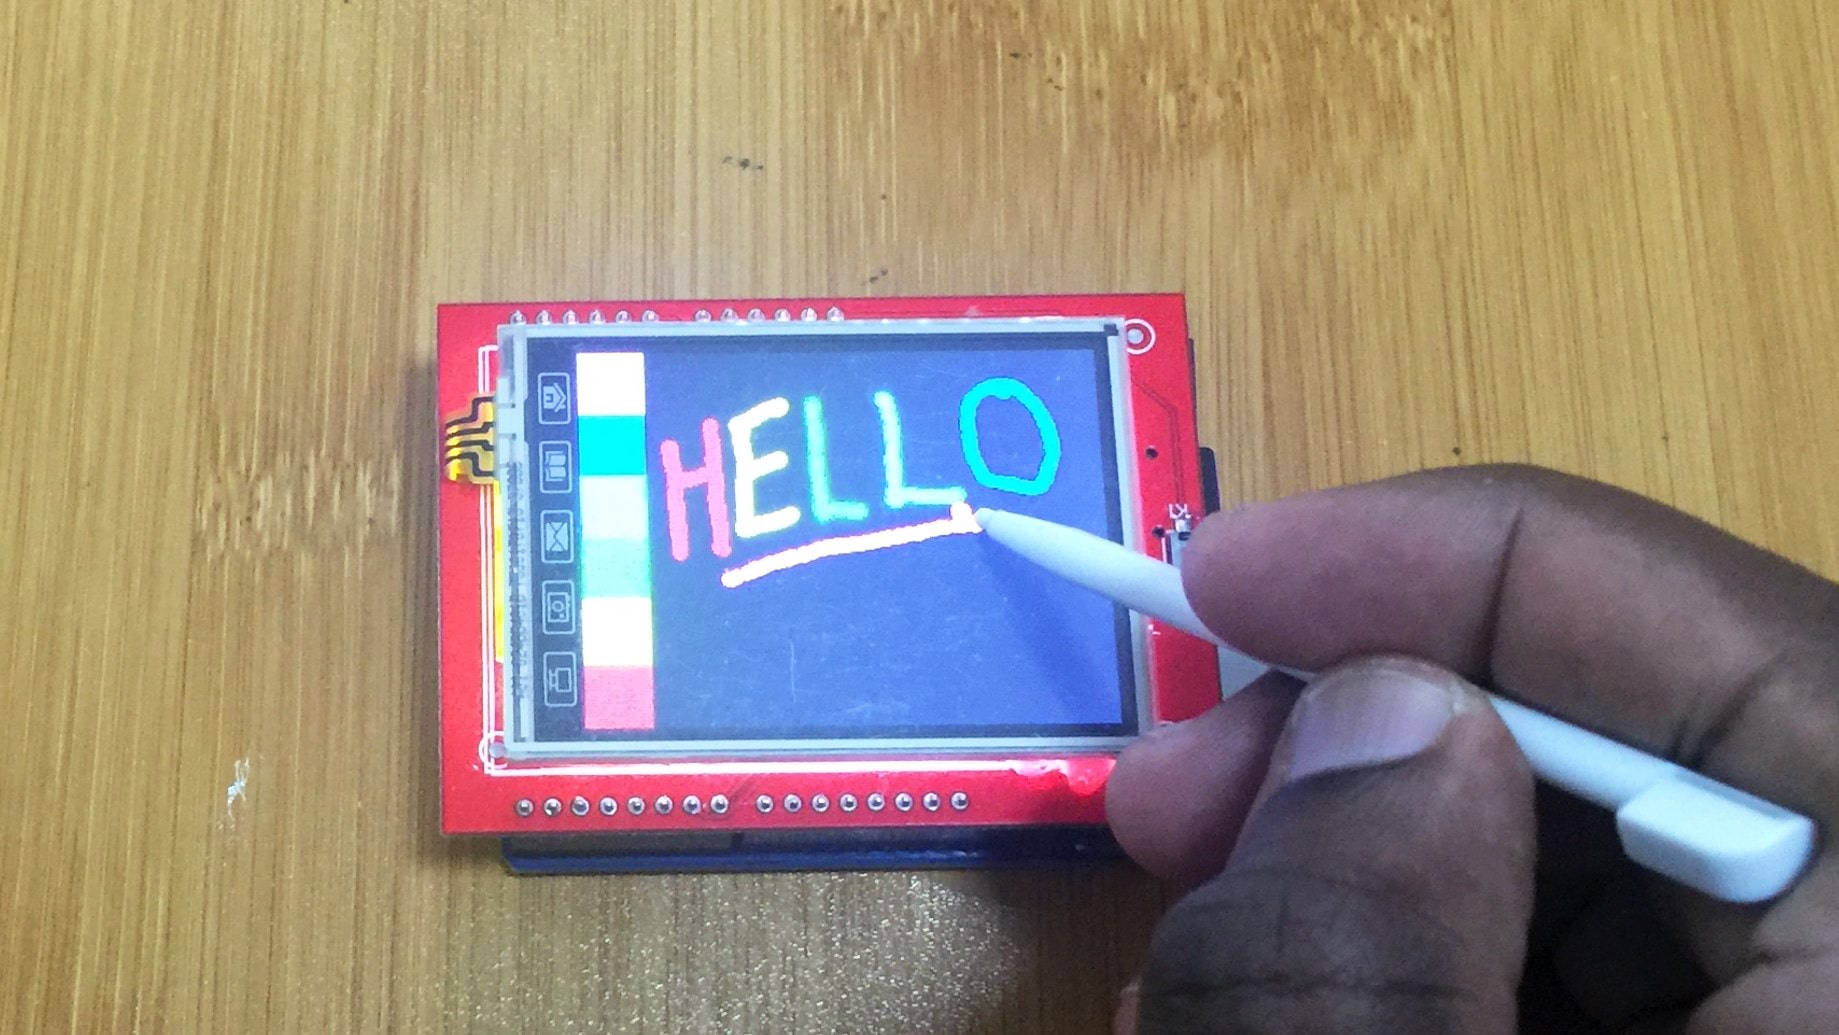
The 2.4 ” tft lcd touch screen shield for Arduino can be used in a number of applications. However many of the shields available on the market are cloned versions which usually give many hobbyists hard time to use because they do not work properly with the common libraries for running TFT displays.
In this tutorial I will show you how to solve some of the common challenges faced when beginning to use this display shield.
Libraries Used.
The main libraries used to run this TFT display are the Adafruit_GFX_library and the SPFD5408 library
In case you want to know how use the various commands inside these libraries you can check out other posts I have made on the use of tft lcds:
Common challenges faced when using the 2.4″ tft lcd touch screen shield for Arduino and the solutions.
White screen problem.
If you try uploading any of the examples in the Adafruit_GFX library for example the “graphicstest”, the lcd will just give a white screen. Nothing is displayed on the screen!
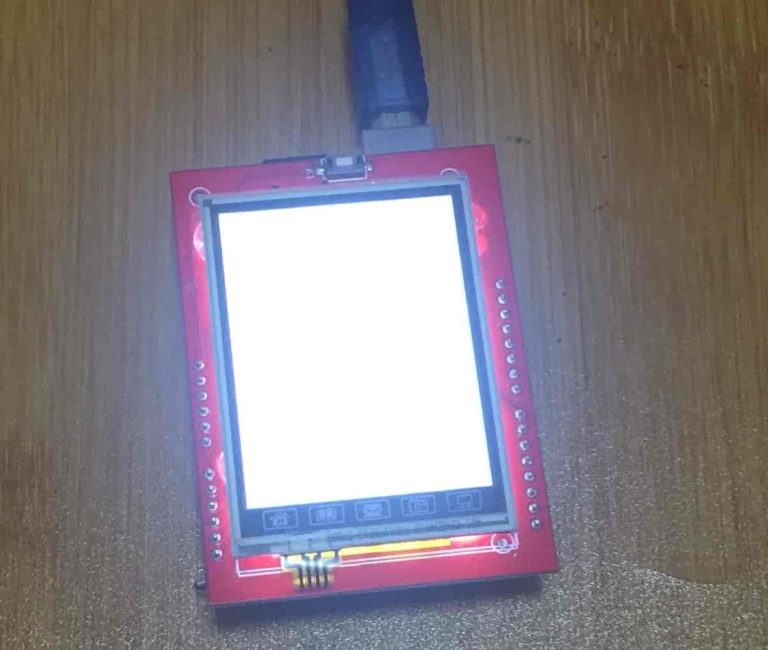
This problem is mainly due to using a newer version of the Adafruit GFX library. The 1.5.4 release of the Adafruit_GFX library broke compatibility with the Adafruit_TFTLCD library. So you have to roll back to Adafruit_GFX 1.5.3:
If you don’t know how to change the version of libraries in the Arduino IDE you can watch the video tutorial below.
White screen problem when using touch function
You may also get a white screen when you try to run examples involving use of the touch function for example “tftpaint”.
This can be solved by modifying the part of this code with
#define YP A1#define XM A2#define YM 7#define XP 6
In case your screen is not working you may need to change this code to:
#define YP A3#define XM A2#define YM 9#define XP 8
The above code modifications can be made interchangeably depending on the type of TFT lcd you have. You choose which settings work for your screen .
Touch screen problem
Another problem you may encounter with this tft lcd shield is the poor fuctioning of the touch screen. You may find the stylus pen is not well aligned with the content you are writing on the screen.
This is due to a bug in the TouchScreen library therefore you need to locate this library by following the path to where all the libraries for your Arduino IDE are stored.
In my case the path is C > Documents > Arduino > libraries > TouchScreen

Inside the TouchScreen folder we find the TouchScreen.cpp file which we can then edit using and code editor available. Am using Notepad++.
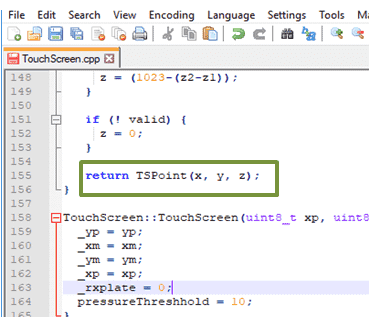
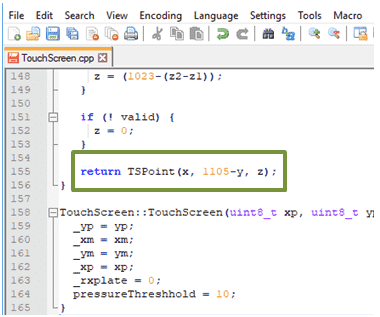
We need to change the line with return TSPoint(x, y, z).
- First change it to
return TSPoint(1023-x, 1023-y, z). Save the changes and then compile your code again and upload to check if the touch fuction is fine. - You can keep on adjusting the values of before x and y until you get an ideal point that works best for your tft lcd. Mine worked fine with
return TSPoint(x, 1105-y, z)
Displaying BMP images on the LCD.
The 2.4″ tft lcd shield had a micro SD card slot which ensbles us to store images and other information that can be displayed on the screen.
Due to the limited processing power of the microprocessor in the Arduino, we need to store images in bmp format and they should be 320×240 pixels sizes.
You can also make reference to a previous post to learn how to convert images to bmp format and to get the required size.
Code for displaying images on the 2.4″ TFT LCD.
#include <Adafruit_GFX.h>    // Core graphics library
#include <Adafruit_TFTLCD.h> // Hardware-specific library
#include <SD.h>
#include <SPI.h>


// The control pins for the LCD can be assigned to any digital or
// analog pins...but we'll use the analog pins as this allows us to
// double up the pins with the touch screen (see the TFT paint example).
#define LCD_CS A3 // Chip Select goes to Analog 3
#define LCD_CD A2 // Command/Data goes to Analog 2
#define LCD_WR A1 // LCD Write goes to Analog 1
#define LCD_RD A0 // LCD Read goes to Analog 0
#define PIN_SD_CS 10 // Adafruit SD shields and modules: pin 10

#define LCD_RESET A4 // Can alternately just connect to Arduino's reset pin


// Assign human-readable names to some common 16-bit color values:
#define  BLACK   0x0000
#define BLUE    0x001F
#define RED     0xF800
#define GREEN   0x07E0
#define CYAN    0x07FF
#define MAGENTA 0xF81F
#define YELLOW  0xFFE0
#define WHITE   0xFFFF

Adafruit_TFTLCD tft(LCD_CS, LCD_CD, LCD_WR, LCD_RD, LCD_RESET);
// If using the shield, all control and data lines are fixed, and
// a simpler declaration can optionally be used:
// Adafruit_TFTLCD tft;


#define MAX_BMP         10                      // bmp file num
#define FILENAME_LEN    20                      // max file name length

const int __Gnbmp_height = 320;                 // bmp hight
const int __Gnbmp_width  = 240;                 // bmp width

unsigned char __Gnbmp_image_offset  = 0;        // offset

int __Gnfile_num = 4;                           // num of file

char __Gsbmp_files[4][FILENAME_LEN] =           // add file name here
{
"pic1.bmp",
"pic2.bmp",
"pic3.bmp",
"pic4.bmp",
};
File bmpFile;
/*********************************************/
// This procedure reads a bitmap and draws it to the screen
// its sped up by reading many pixels worth of data at a time
// instead of just one pixel at a time. increasing the buffer takes
// more RAM but makes the drawing a little faster. 20 pixels' worth
// is probably a good place

#define BUFFPIXEL       60                      // must be a divisor of 240
#define BUFFPIXEL_X3    180                     // BUFFPIXELx3

void bmpdraw(File f, int x, int y)
{
    bmpFile.seek(__Gnbmp_image_offset);

    uint32_t time = millis();

    uint8_t sdbuffer[BUFFPIXEL_X3];                 // 3 * pixels to buffer

    for (int i=0; i< __Gnbmp_height; i++) {
        for(int j=0; j<(240/BUFFPIXEL); j++) {
            bmpFile.read(sdbuffer, BUFFPIXEL_X3);

            uint8_t buffidx = 0;
            int offset_x = j*BUFFPIXEL;
            unsigned int __color[BUFFPIXEL];

            for(int k=0; k>3;
        // read
                __color[k] = __color[k]<<6 | (sdbuffer[buffidx+1]>>2);      // green
                __color[k] = __color[k]<<5 | (sdbuffer[buffidx+0]>>3);      // blue

                buffidx += 3;
            }

      for (int m = 0; m < BUFFPIXEL; m ++) {
              tft.drawPixel(m+offset_x, i,__color[m]);
      }
        }
    }

    Serial.print(millis() - time, DEC);
    Serial.println(" ms");
}
boolean bmpReadHeader(File f)
{
    // read header
    uint32_t tmp;
    uint8_t bmpDepth;

    if (read16(f) != 0x4D42) {
        // magic bytes missing
        return false;
    }

    // read file size
    tmp = read32(f);
    Serial.print("size 0x");
    Serial.println(tmp, HEX);

    // read and ignore creator bytes
    read32(f);

    __Gnbmp_image_offset = read32(f);
    Serial.print("offset ");
    Serial.println(__Gnbmp_image_offset, DEC);

    // read DIB header
    tmp = read32(f);
    Serial.print("h
eader size ");
    Serial.println(tmp, DEC);

    int bmp_width = read32(f);
    int bmp_height = read32(f);

    if(bmp_width != __Gnbmp_width || bmp_height != __Gnbmp_height)  {    // if image is not 320x240, return false
        return false;
    }

    if (read16(f) != 1)
    return false;

    bmpDepth = read16(f);
    Serial.print("bitdepth ");
    Serial.println(bmpDepth, DEC);

    if (read32(f) != 0) {
 // compression not supported!
        return false;
    }

    Serial.print("compression ");
    Serial.println(tmp, DEC);

    return true;
}

/*********************************************/
// These read data from the SD card file and convert them to big endian
// (the data is stored in little endian format!)

// LITTLE ENDIAN!
uint16_t read16(File f)
{
    uint16_t d;
    uint8_t b;
    b = f.read();
    d = f.read();
    d <<= 8;
    d |= b;
    return d;
}

// LITTLE ENDIAN!
uint32_t read32(File f)
{
    uint32_t d;
    uint16_t b;

    b = read16(f);
    d = read16(f);
    d <<= 16;
    d |= b;
    return d;
}

void setup(void) {
  Serial.begin(9600);
  Serial.println(F("TFT LCD test"));

#ifdef USE_ADAFRUIT_SHIELD_PINOUT
  Serial.println(F("Using Adafruit 2.4\" TFT Arduino Shield Pinout"));
#else
  Serial.println(F("Using Adafruit 2.4\" TFT Breakout Board Pinout"));
#endif

  Serial.print("TFT size is "); Serial.print(tft.width()); Serial.print("x");
Serial.println(tft.height());

  tft.reset();

  tft.begin(0x9341);
  tft.fillScreen(BLUE);


  //Init SD_Card
  pinMode(10, OUTPUT);

  if (!SD.begin(10)) {
    Serial.println("initialization failed!");
    tft.setCursor(0, 0);
    tft.setTextColor(WHITE);
    tft.setTextSize(1);
    tft.println("SD Card Init fail.");
  }else
  Serial.println("initialization done.");
}

void loop(void) {
     for(unsigned char i=0; i<__Gnfile_num; i++) {
bmpFile = SD.open(__Gsbmp_files[i]);
        if (! bmpFile) {
            Serial.println("didnt find image");
            tft.setTextColor(WHITE);    tft.setTextSize(1);
            tft.println("didnt find BMPimage");
            while (1);
        }

        if(! bmpReadHeader(bmpFile)) {
            Serial.println("bad bmp");
            tft.setTextColor(WHITE);    tft.setTextSize(1);
            tft.println("bad bmp");
            return;
        }

        bmpdraw(bmpFile, 0, 0);
        bmpFile.close();
        delay(1000);
        delay(1000);
    }

}
The above code will display images stored in the micro SD card on the tft lcd.
