How to install CH340 driver on Windows.

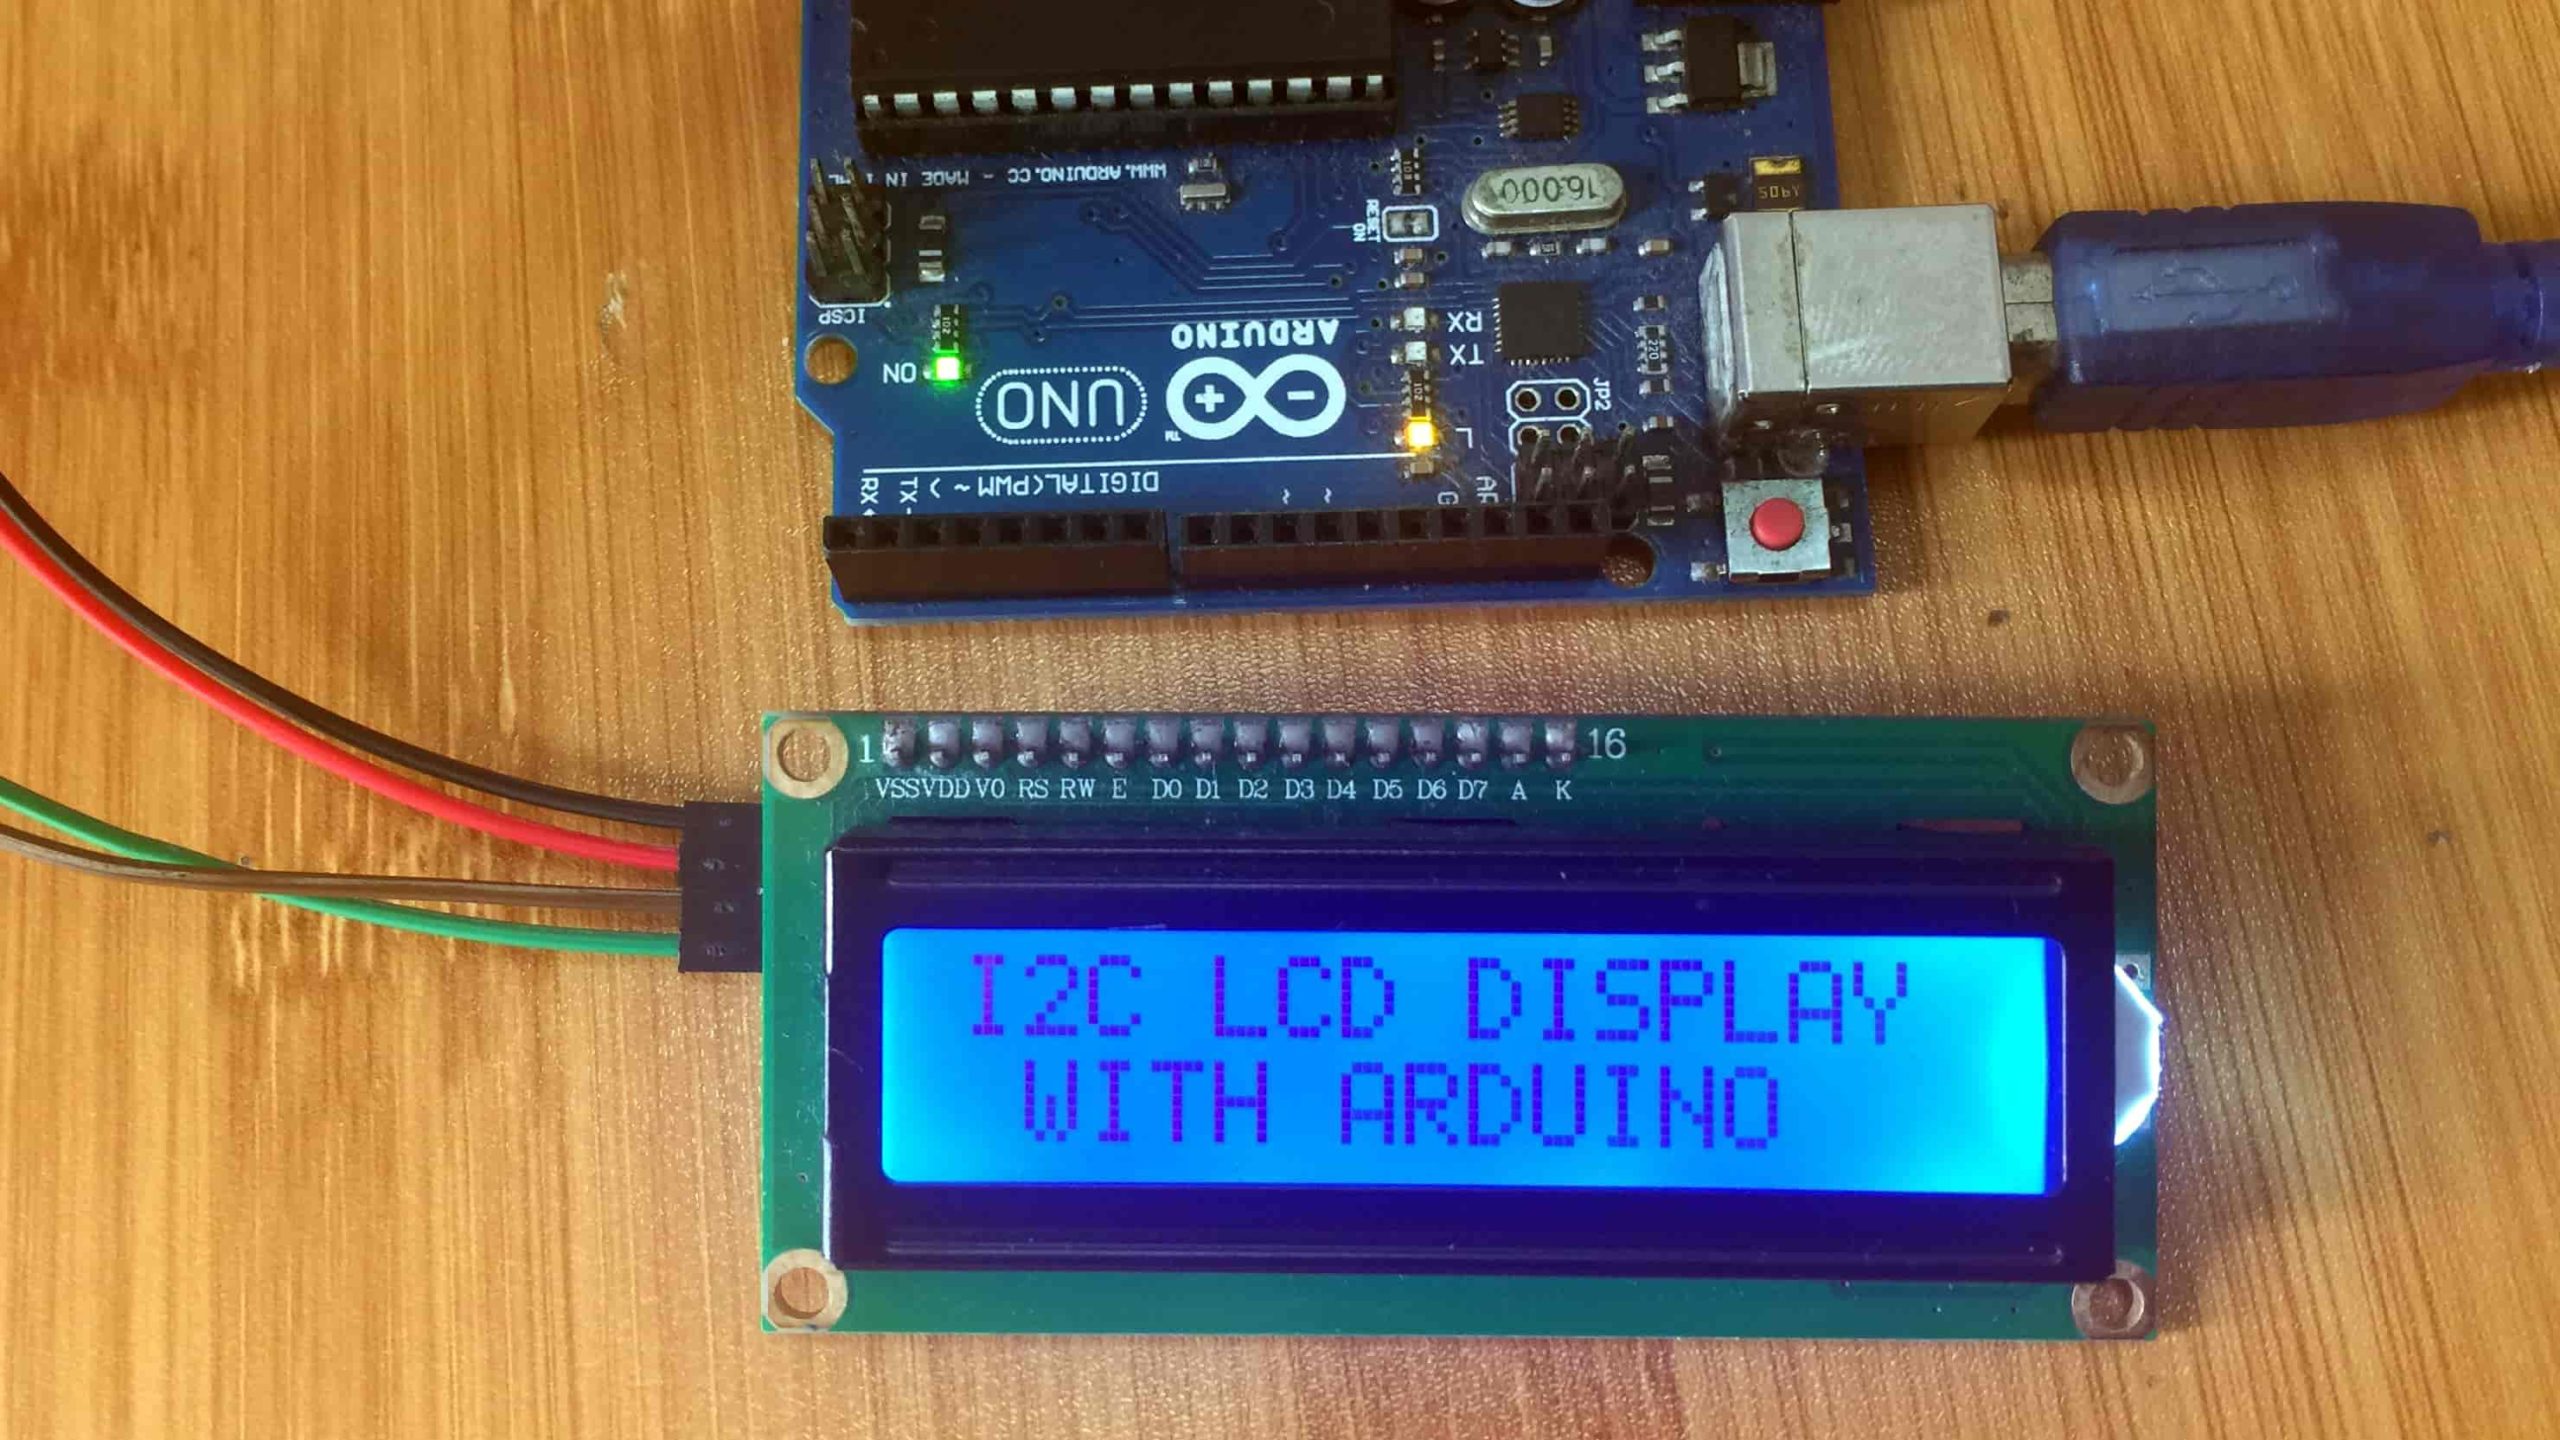
CH340 is a USB to TTL serial converter chip which is included in a number of development boards like Arduino NANO, Arduino MEGA, ESP8266 NodeMCU V3 and CH340 adapter modules. With this chip these boards don’t need a programmer. The chip comes in a number of variants like Ch340C, Ch340G, Ch340B, Ch340T and others.

In order to use devices with the CH340 chip, you need to install the CH340 driver on your computer’s operating system. In this tutorial I’ll show how to install CH340 driver on Windows 10.
Checking whether the CH340 driver is installed.
The easiest way to know if the CH340 driver is installed or not when using Arduino boards is to plug the given board into your computer USB port and open the Arduino IDE. Then check for COM Port under Tools as shown below.

If the CH340 driver is not installed then you will not be able to select COM Ports in the Arduino IDE.
Alternatively, for USB to TTL adapter modules you can check the Windows Device Manager after plugging the device into your PC.

The USB serial device will appear with a danger symbol meaning that it is not being recognized by the computer therefore you need to either install or update the CH340 driver.
How to install CH340 driver.
- First you need to download the CH340 driver for Windows which can be got from various sources even from the manufacturers site.
- Unzip the downloaded file and run the installer by double clicking on the unzipped file. A new window opens where the necessary files are extracted and when done, the driver installer window opens where you click install to begin installing the CH340 driver.

After installing the driver, a “Driver install success!” message pops up. Click OK and close all the windows.

Now you can restart the Arduino IDE and you should now be able to see the COM port where the CH340 device is plugged into the PC.

Also, if the CH340 driver has been installed correctly, when you check the Device Manager after connecting your board to a computer, you can see the USB-serial CH340 COM port listed with the corresponding port number.

Updating CH340 driver in Windows Device Manager.
Sometimes the CH340 driver may be installed but corrupted and therefore will cause the plugged device not to work properly. In such a situation you need to update the driver.
- First download the CH340 driver
- Go to the Windows Device Manager.
- Under Other devices right click on the USB serial device with issues.
- Click on Update driver.
A new pane opens where you select how you want to search for the driver. Select Browse my computer for drivers.

Browse to the directory where you stored the downloaded and extracted zip file for CH340 driver.

Click Next and the driver will be updated and after the update a message will show that the CH340 driver has been updated successfully.
In case the USB Serial COM Ports do not show up after installing or updating the CH340 driver, you need to restart your computer.
